Examination outside Japan
The day before the exam date
Preparation in advance
Belongings
Please bring valid Identification Document and Confirmation Letter with you on the day.
On the day of exam date
Before the start of the exam
1. Visit
Please arrive at the reception Test Center 15 to 30 minutes before the test time.
Notes
If you are late, you will not be able to take the test.
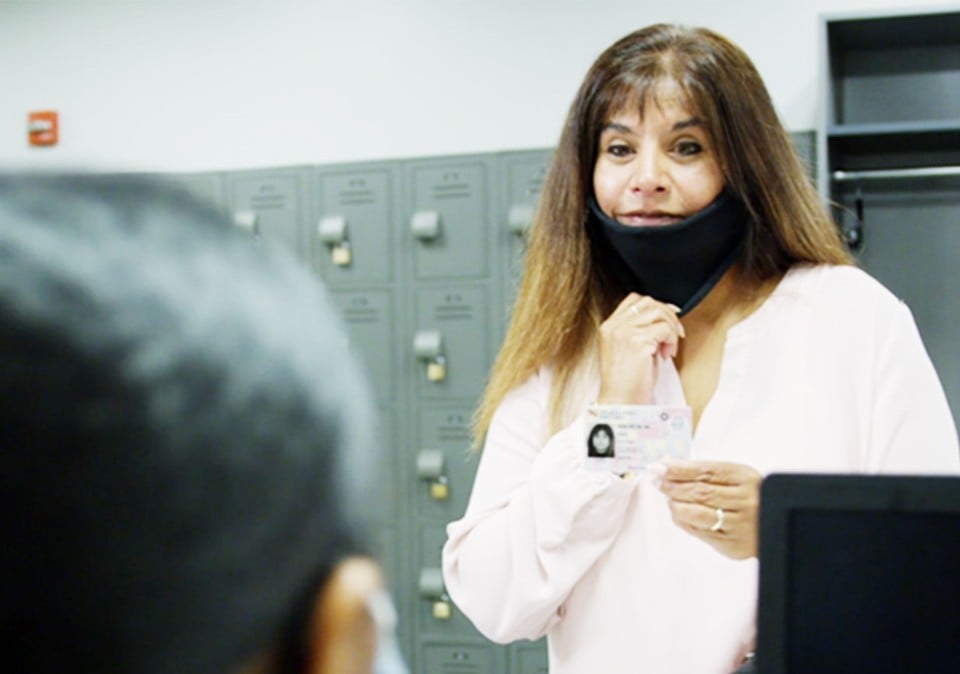
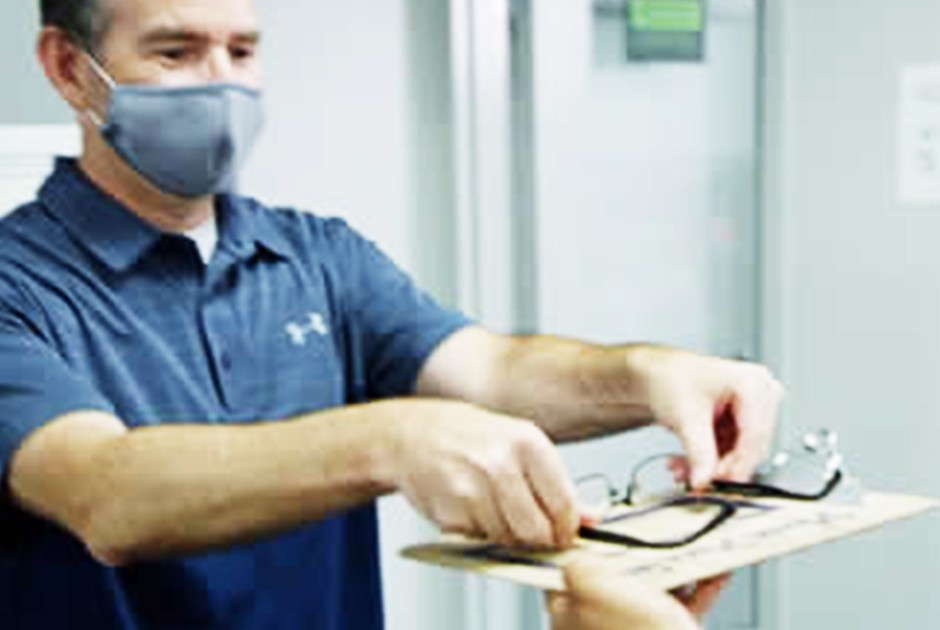
2. Identity verification
Please present Identification Document and Confirmation Letter. Please remove your mask according to the instructions of the receptionist to confirm your identity.
Notes
- Valid Identification Document vary depending on the country where you are taking the test, so please check "Identification Document by Country" in advance.
- Only original Identification Document are valid.
- If you cannot present a valid Identification Document, you will not be able to take the test, and in that case, you will not be able to get a refund of your test fee or change your test date.
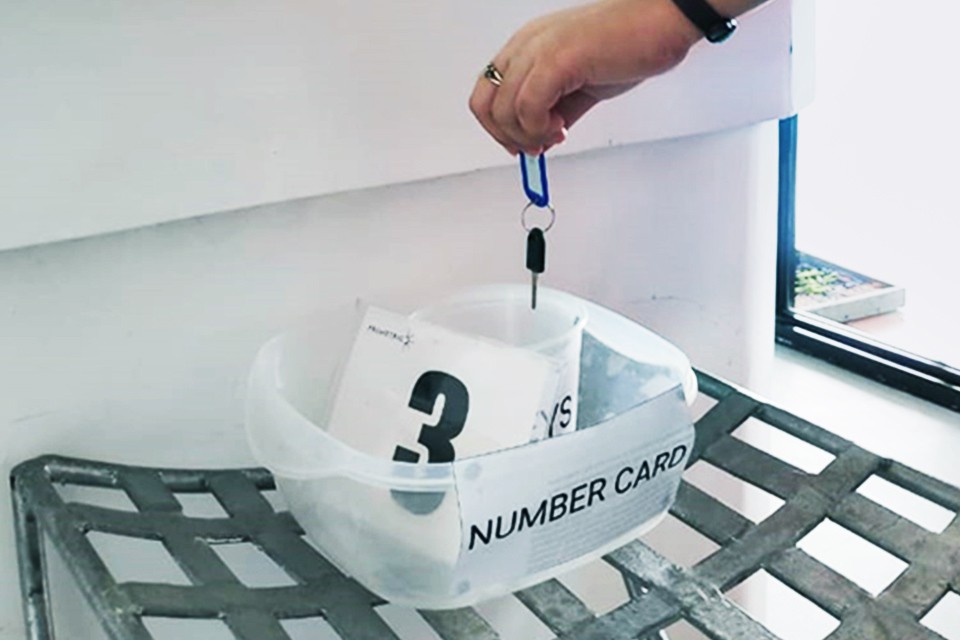
3. Baggage deposit
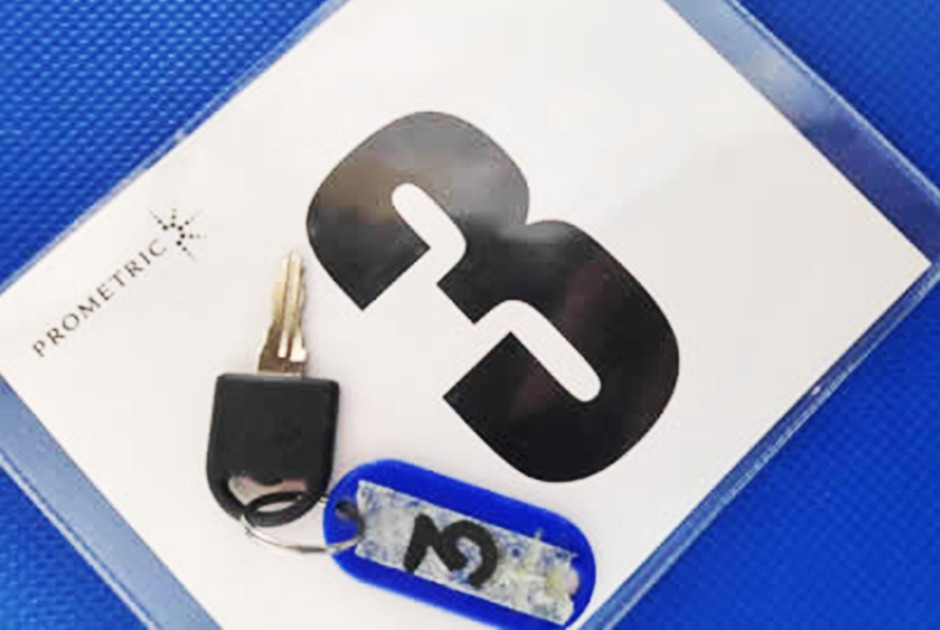
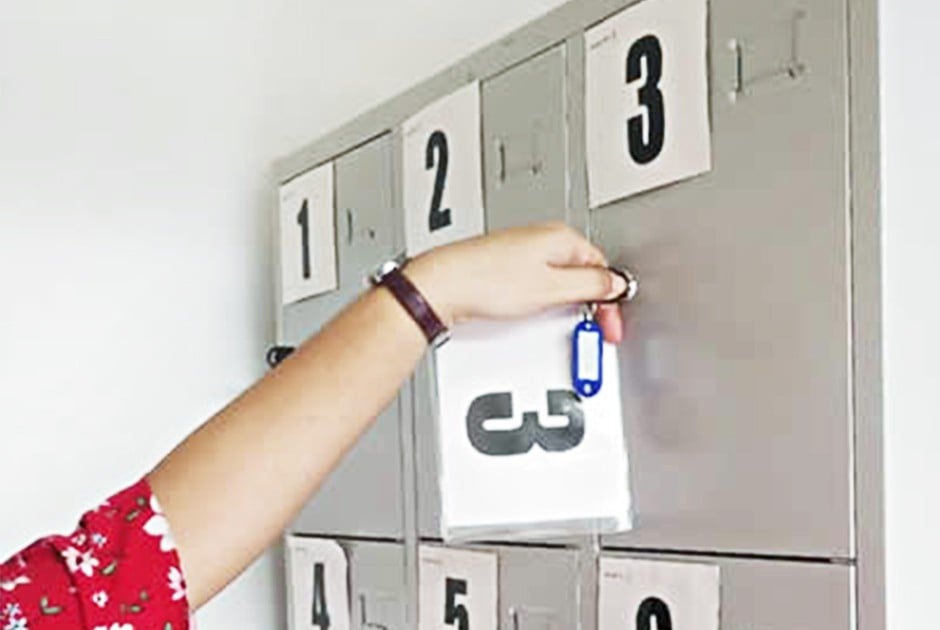
Once you have checked in, you will be given a "Q" number card and a locker key.
Please put all your belongings in the locker corresponding to the "Q" number card given to you.
The items that can be brought into the exam room are limited to the following: Bringing anything else will be considered cheating.
- Identification Document
- Confirmation Letter
- Q number card
- locker key
4. Check the examination regulations
Please check the exam regulations while you wait in the waiting room.
Each Test Center has exam regulations in the local language. If you would like to check in another language, please check below in advance.
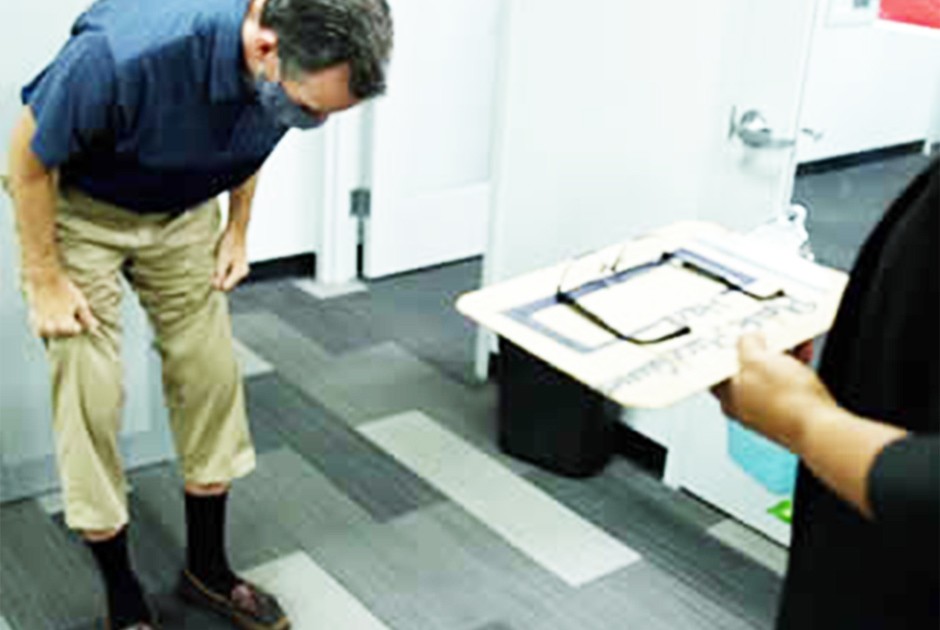
5. Security check
Security check procedure
- The test proctor will call the Q numbers in order.
- When your Q number is called, please proceed to the designated area.
- If you have not yet read the exam guidelines, please tell the proctor now so they can set aside time for you to do so.
- After confirming the examination regulations, please undergo the security check.

6. Check-in
Check-in procedure
- Please wait for instructions from the test proctor at the check-in counter.
- If prompted, please read your reservation number out loud.
- Take a photo of your face. Photos taken will be used in score reports.
- Once you have checked in, the proctor will escort you to your seat.
Examination information
How to use the mouse
In the exam, you will use the mouse to manipulate the answers.
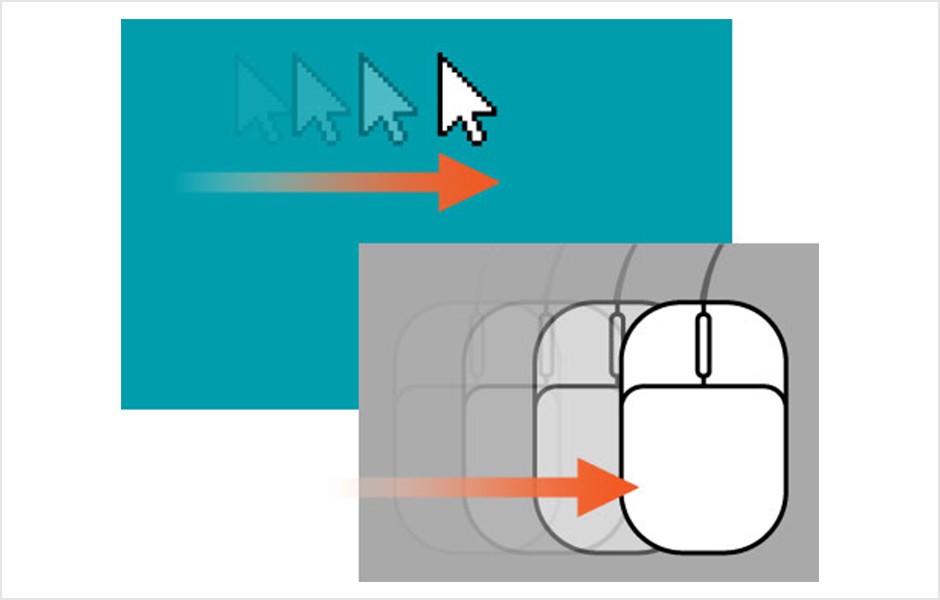
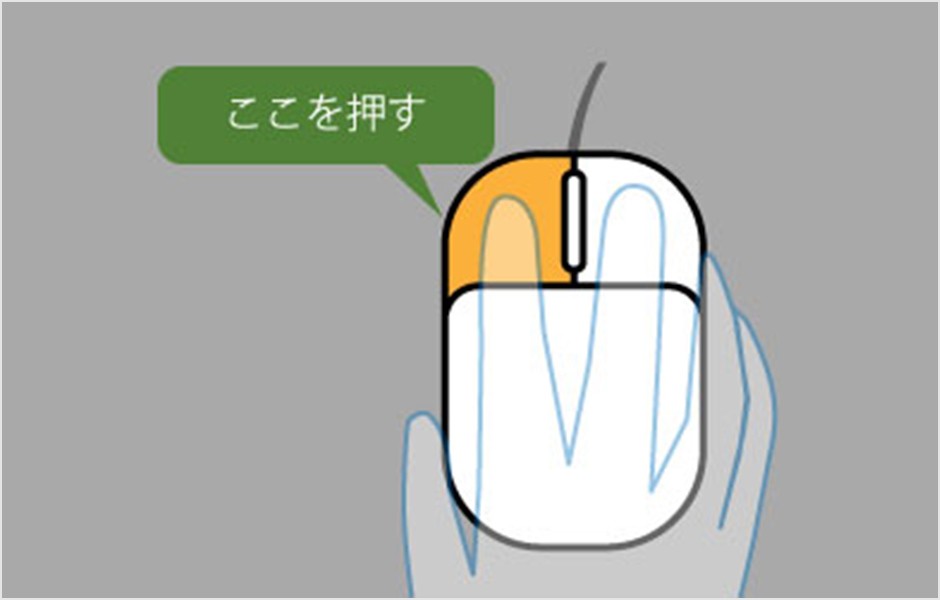
Click the mouse button only once, not more than once.
Volume adjustment
Some exams (such as JFT-Basic) have a listening section.
Use a headset for the listening section. The volume can be adjusted using the headset's volume control.

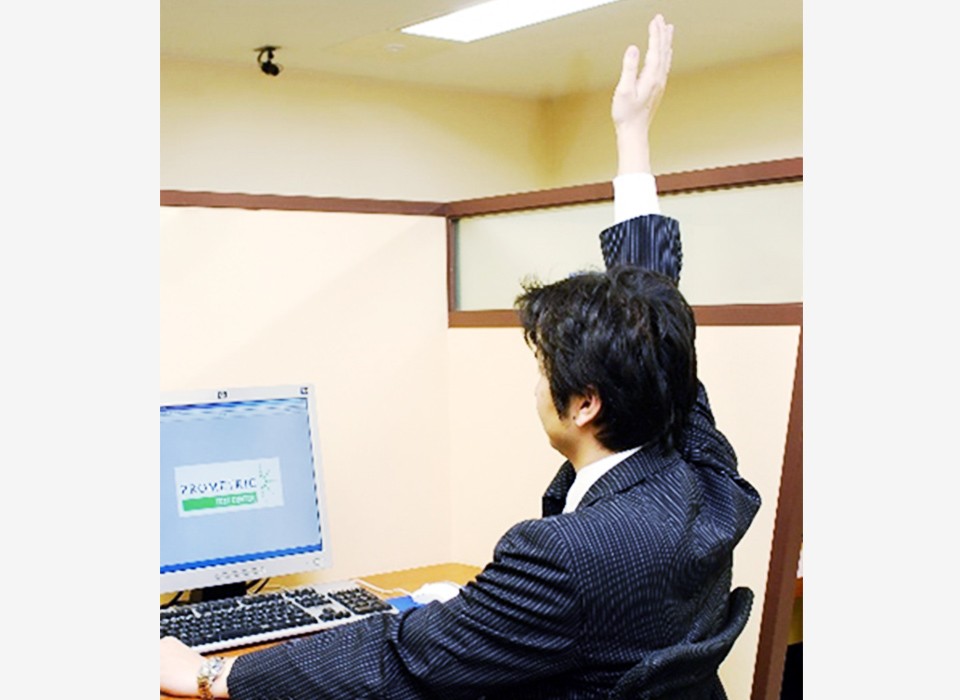
questions or problems
If you have any questions or problems during the exam, please immediately raise your hand and notify the proctor.
Even if you notify us after the exam has ended, we will not be able to respond.
For JFT-Basic Candidate
JFT-Basic uses paper materials called "Supplementary Materials for Test Navigation" outside the Philippines. This document is placed at each seat. Please be sure to check if you have this document when you are shown to your seat.
In JFT-Basic, various warning messages are displayed in English. The ``Supplementary Materials for Test Navigation'' is a translation of this English warning message into the local language of the region where Test Center is located. Refer to this sheet when reading English warning messages.
This document can also be viewed from the link below.
Start of Test
Confirmation of exam content
Once you are seated, your Last name, First name, Exam Exam Name and Language will be displayed on the screen.
If everything is correct, click "Confirm". If there are any errors, please inform the proctor.

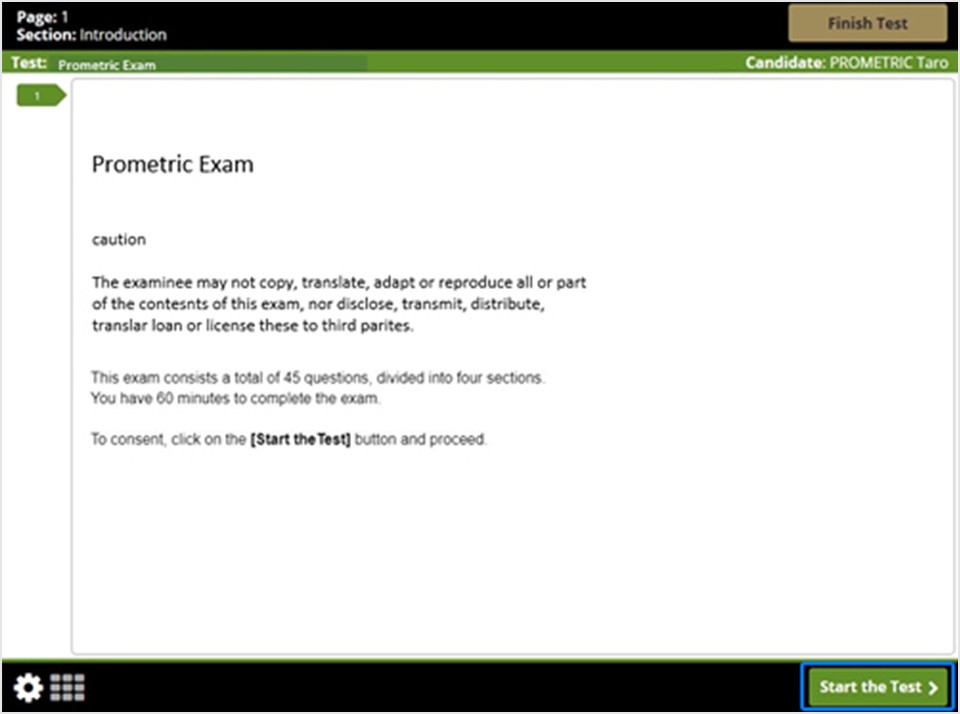
Start screen
The following items are displayed:
(A) Exam Name
(B) Your name
Be sure to check the notes on the screen.
In some exams, there will be a message asking you to adjust the volume or enter a non-disclosure agreement (NDA). Please be sure to check these as well.
Click on the "Start the test" (or "Next" for some tests) button to begin the test.
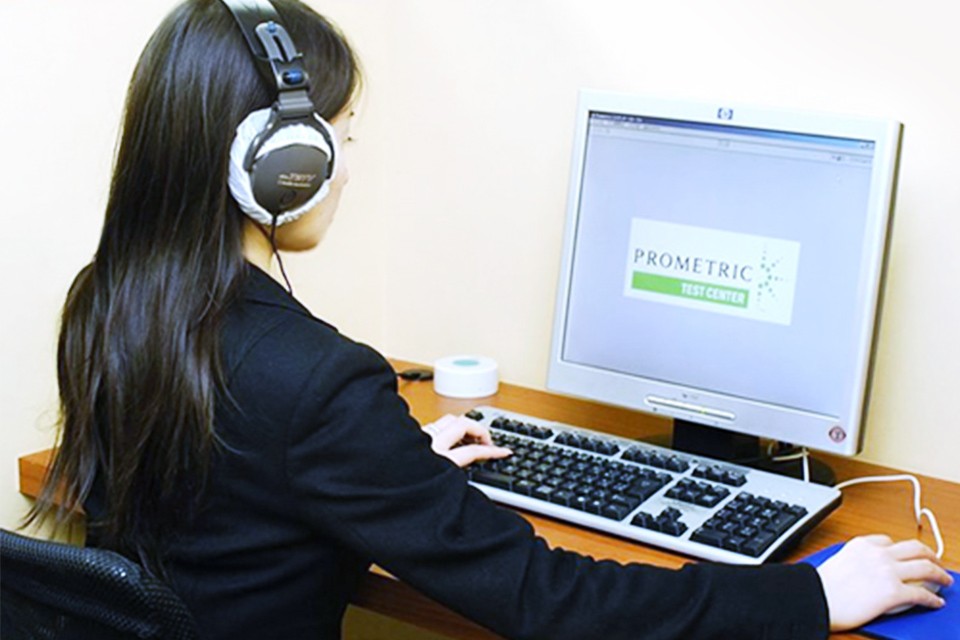
Headset settings
About the listening section
Some exams have a listening section where you use a headset.
There is a section at the beginning of the exam to check the audio, so make sure you can hear the sound.
The volume cannot be changed on the test screen. Please adjust the volume control on the headset.
If you cannot hear the sound or have difficulty hearing, please immediately notify the test proctor by raising your hand or using the call button.
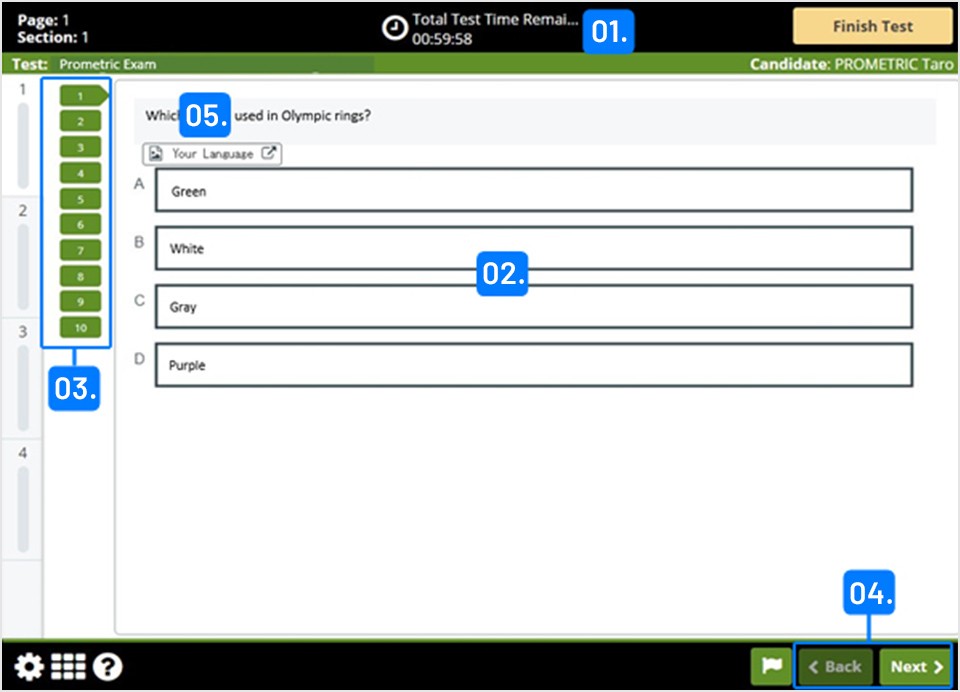
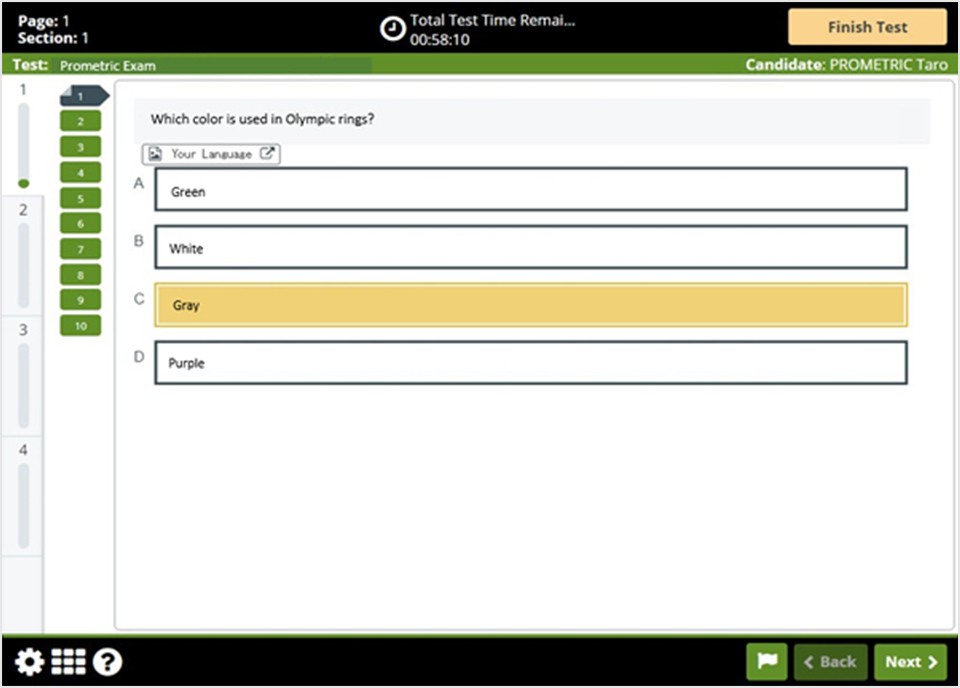
Explanation of the test screen
- The remaining time will be displayed.
- Your choices will be displayed.
-
Question number button: You can check the total number of questions and answer status. By clicking the question number button, you can move to the question with that number.
*Some sections require you to answer in order and cannot be moved. - You can move through the questions one by one by clicking the "Back" and "Next" buttons.
*However, you cannot click the "Back" button for the first problem, and you cannot click the "Next" button for the last problem. - In JFT-Basic, questions are displayed in English, but if you click the "Your Language" button, a translation of the questions will be displayed.
How to answer
Answers can be selected by left clicking the mouse.
The selected answer will change color. The appearance of the question number button will also change.
review flag
By clicking the flag icon, you can add a flag mark (a mark to review later) to the target question.
A flag mark will also be displayed on the question number button.

How to read the question number button
The appearance of the question number button changes depending on the answer status.

section
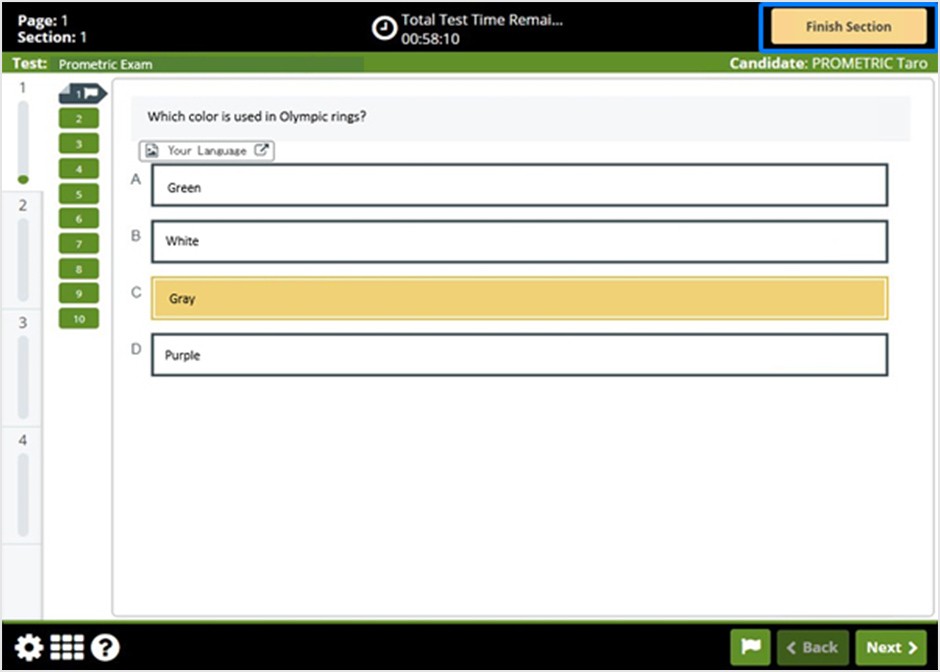
Some exams have sections and will have a "Finish Section" button in the top right corner of the screen.

Once you press the "Finish Section" button, a confirmation message will appear.
If you are finished, click "Yes, I would like to finish this section."
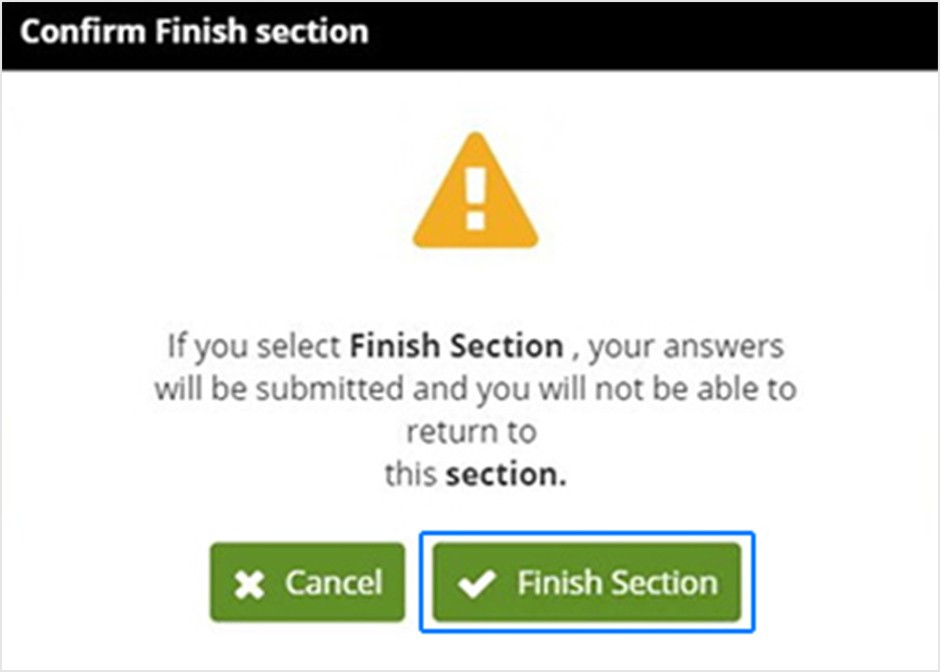
A confirmation message will appear again. If you are finished, click "Finish Section".
Once you click the Finish Section button, you will not be able to return to that section later.
questionnaire
Some exams have a survey after the exam.
Once you have completed the survey, click "Finish Section."
Exam completed
Exam completed
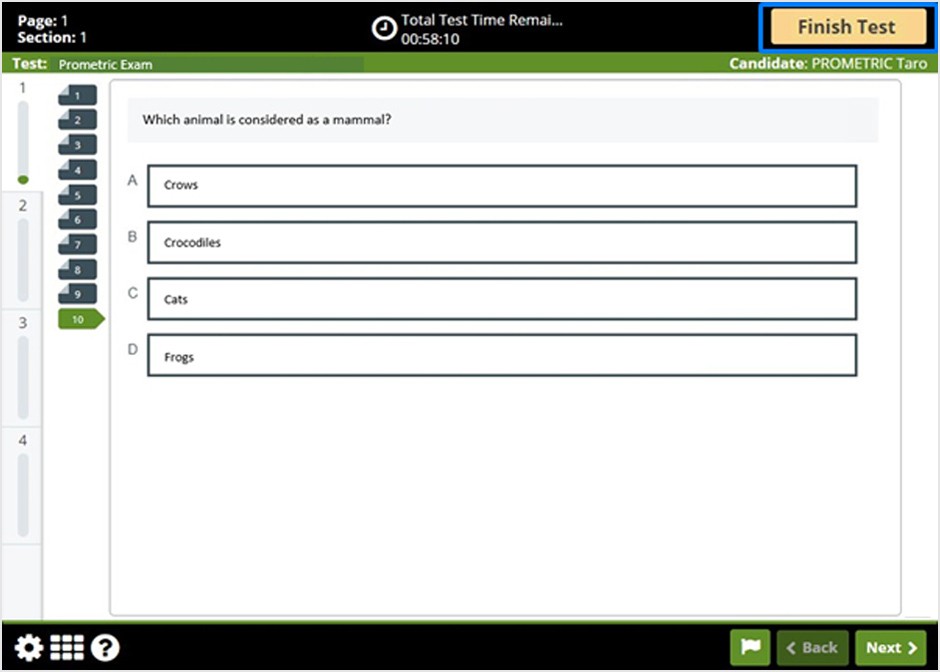
Click the "Finish Test" button to finish.
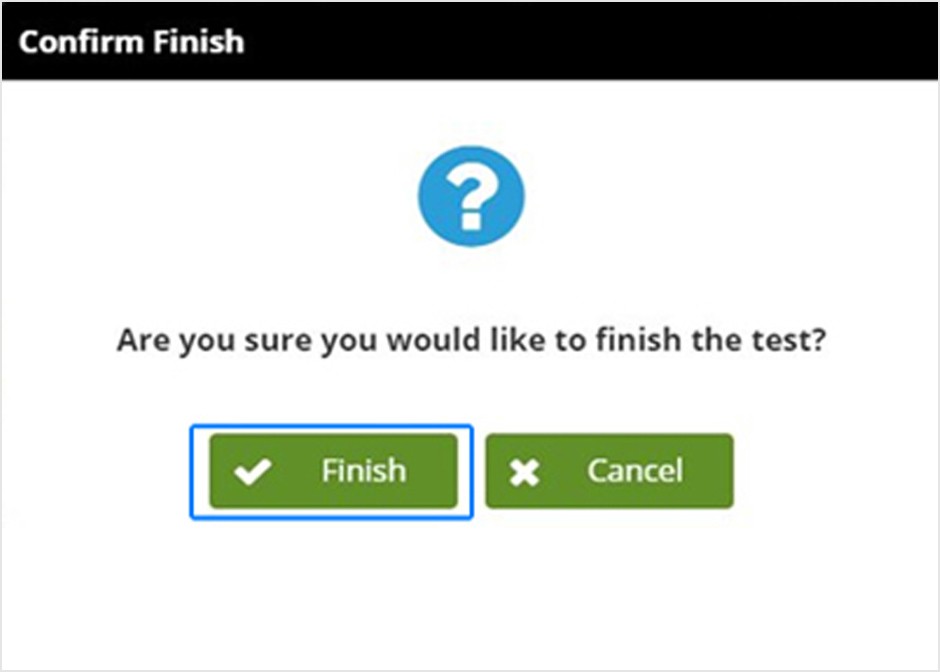
A confirmation message appears.
When you are finished, click "Finish".
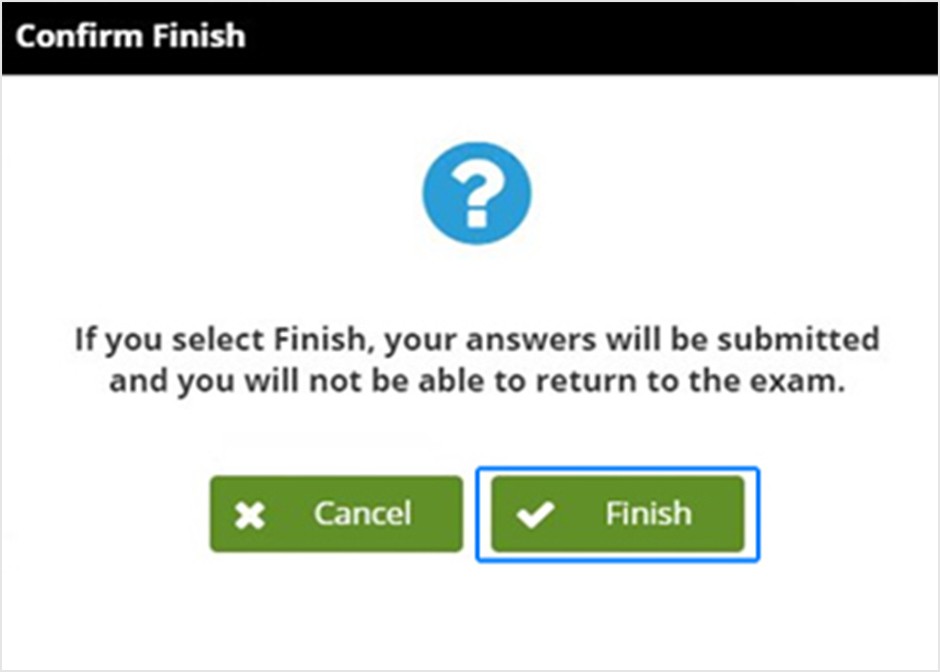
Once you select "Finish", you will be prompted again for confirmation.
When you are finished, click Finish.
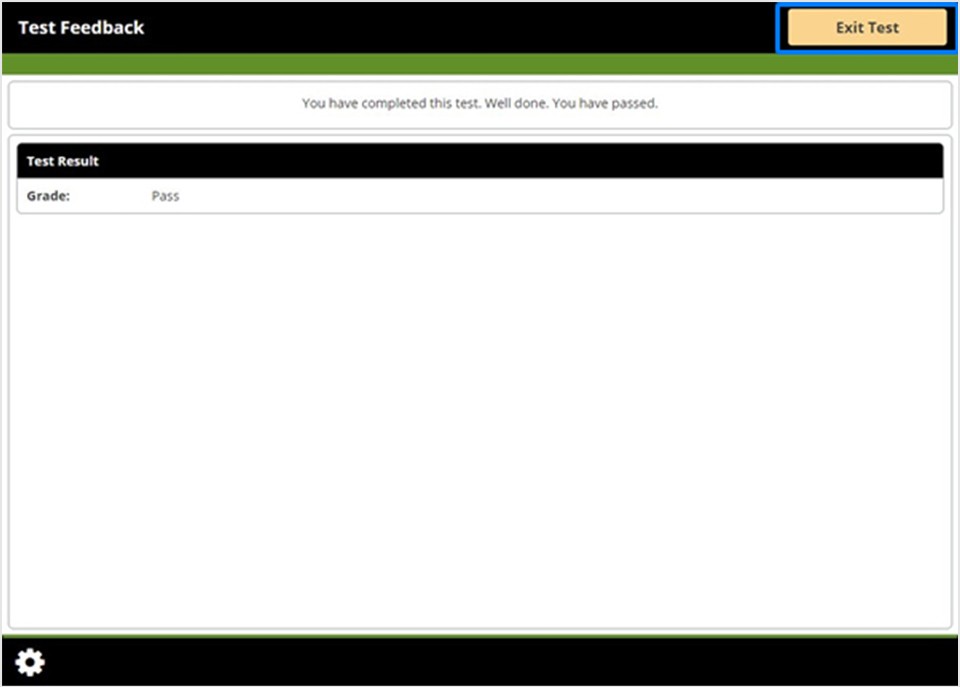
Test Result
Once you have completed the exam, some exams will display Test Result on the screen.
Please check the contents and press "Exit test" to end the test.
After Test
Please raise your hand to let the proctor know that the exam is over.
The test proctor will confirm completion.
Exit
check out
Please go to the check-in counter with your Q number card, locker key, and the items given to you at check-in.
During the checkout process, please return your items to the proctor.
Exit
Please remove your belongings from your locker.
Please return your Q number card and locker key to reception before leaving Test Center.
*The method for returning the Q number card and locker key is different at some Test Center.